Create a Thermal Camera Heatmap Application
This application demonstrates a thermal camera-based object heatmap. The application senses the surface temperature of an object and displays it as a colorful heatmap. Temperatures are rendered in real time and are displayed as different colors to form a heatmap.
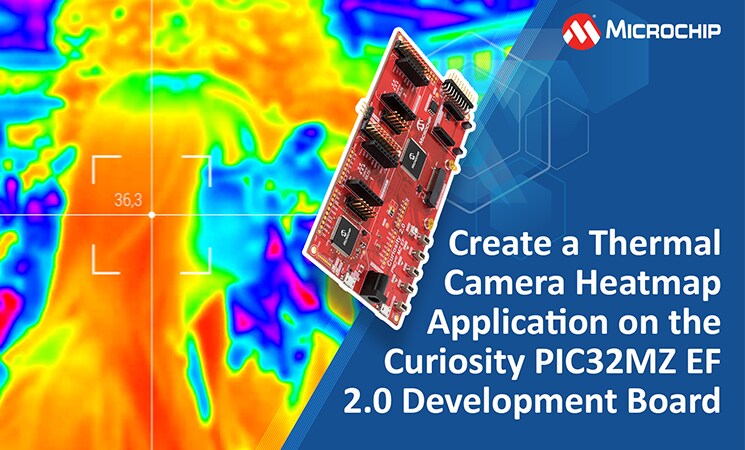
Thermal Camera Heatmap Application on Curiosity PIC32MZ EF 2.0 Development Board
This video will show you how to create a thermal camera heatmap application on a Curiosity PIC32MZ EF 2.0 Development board using MPLAB® Code Configurator. The application uses MPLAB Harmony v3 Legato Graphics library to display on OLED C click, the thermal frame data measured with Grid-EYE click.
Watch the video or read the transcript:
Thermal imaging is a process by which a thermal camera captures and creates a thermogram or heatmap image of an object by using infrared radiation emitted from the object.
The Covid-19 pandemic has demanded more noncontact temperature detection tools, but even before then, commercial and industrial applications have dramatically increased the use of thermal imaging in the past fifty years.
In this video, we’ll show you how to create a thermal camera heatmap application on a Curiosity PIC32MZ EF 2.0 Development board using MPLAB Code Configurator.
We will develop the thermal camera heatmap application using the software tools shown here.

This Project is based on PIC32MZ EF, our MIPS core 32-bit microcontroller.
For this video, we will use the Curiosity PIC32MZ EF 2.0 Development Board. To learn more about this board, watch our video about creating your first project with our PIC32MZ EF board using MPLAB Harmony v3, linked in the description below.

In addition to our Curiosity PIC32MZ EF 2.0 development board, we will use the OLED-C and the Grid-EYE click boards from MikroElektronika.
This block diagram helps us understand how the OLED-C click and Grid-EYE click boards interface with the PIC thirty-two MZ EF microcontroller to create a thermal camera-based object heatmap.

The heatmap has two major tasks. The first task is to acquire and process the data from the Grid-EYE click board. The second task is to display a frame of colors based on the temperature values measured in the first task.
The Grid-EYE click board detects absolute surface temperature without any contact or movement of people and objects. It interfaces with the Curiosity PIC32MZ EF 2.0 Development Board via the I2C protocol.
The OLED-C click board uses the MPLAB Harmony v3 Legato Graphics library to display the thermal frame data measured using the Grid-EYE click board. It interfaces with the Curiosity PIC32MZ EF 2.0 Development Board via the SPI protocol.
Mount the OLED-C click board on the mikroBUS connector one, and the Grid-EYE click board on the mikroBUS connector two.

The Curiosity PIC32MZ EF 2.0 Development Board is powered using a micro-USB cable connected to the debug USB port.
To start developing the demo, download and refer to the “Thermal Camera Heat Map demo” available in the link shown here.
Now, open the project in MPLAB X IDE.
Go to "Tools", "Embedded", and open MPLAB Code Configurator (or MCC).
Here, you can open the project graph to see the configurations of the Curiosity PIC32MZ EF 2.0 Development Board’s peripherals as indicated in the block diagram.
The application uses MPLAB Harmony version three’s Legato Graphics library to display on the OLED-C click board.
SPI 1 is configured as SPI to interface with the OLED-C click board. Click on the SPI 1 module in the project graph and check the configuration options window to see the configurations like operation mode, clock, data width and baud rate.
Every fifty milliseconds, the system service with core timer is used to acquire and process the data from the Grid-EYE click board.
I2C 1 is configured as I2C to interface with the Grid-EYE click board. Click on the I2C 1 module in the project graph and check the configuration options window to see the configured operation mode and speed.
You can use MCC to add other peripherals, reconfigure the project and generate code.
Go to the project configuration path and check the various files to understand the implementation of the project.
The following code initializes the Thermal Camera application. This includes the initialization of OLED-C click board routines, starting the screen and initialization of the Grid-EYE click board routines.
The heatmap application has two tasks. The first is to acquire and process the data from the Grid-EYE click board and the second task is to display a frame of colors on the OLED-C click board based on the temperature values measured in the previous task.
Before you program the code, ensure that the Curiosity Starter Kits "PKOB4" is selected under the project properties in MPLAB X IDE as a hardware tool to program and debug the application.
Next, click OK. You can now build your project, and program the firmware on the Curiosity PIC thirty-two MZ EF 2.0 Development Board using MP-LAB X IDE.
After the board powers up, the MPLAB Harmony Logo should appear and remain on the screen for two seconds. After the time has elapsed, the screen should change, showing small rectangles with different colors.
Place a finger above the Grid-EYE click sensor, and on the OLED-C click display, you can observe a figure of the finger in a different color than the background, such as red or orange, as shown here.
You can find more application demos that use the Curiosity PIC32MZ EF 2.0 Development Board and other applications for different Development Boards or Kits on MPLAB Discover.
Please also visit our MPLAB Harmony landing page for more information about MPLAB Harmony version three.
We hope you have enjoyed this brief demonstration. Thanks for watching!